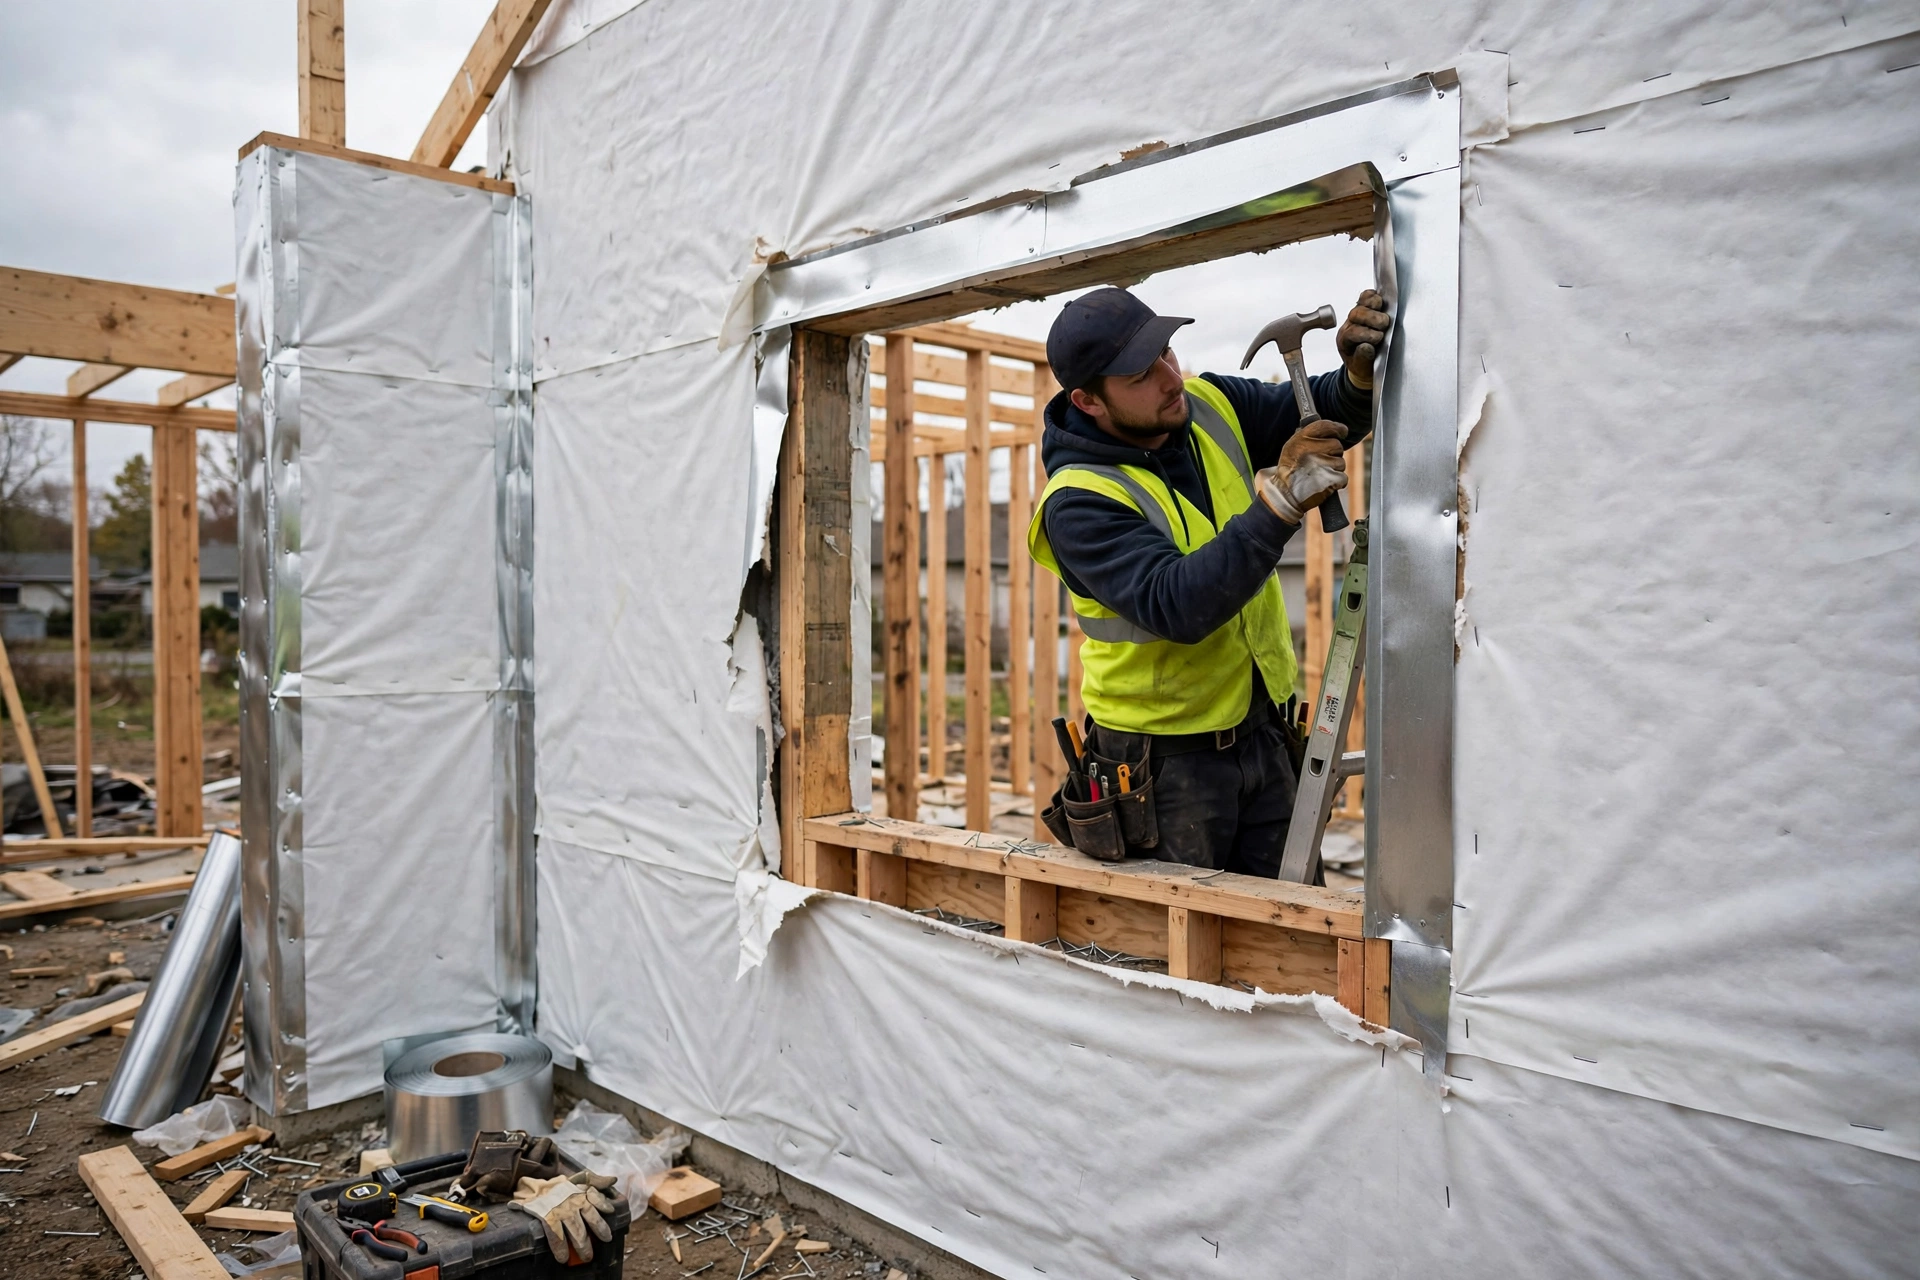
Best Window Flashing Installation Methods for Preventing Hidden Water Damage
A window can look perfect from the street while water quietly destroys the wall behind it. Flashing is the thin, layered waterproofing around a window that stops that from happening, and it fails more often than almost any other part of a house because it is hidden the moment the window goes in. Once trim and siding cover it, nobody can see whether the layers were installed in the right order, and a small mistake can take years to show up as peeling paint, soft drywall, or mould inside a wall cavity.
The short answer is that the best method is a shingle-style, bottom-up sequence: sill pan first, then jamb flashing, then head flashing, with every upper layer overlapping the one below so water always sheds outward. Self-adhered butyl tape is the most forgiving material for most homes, a preformed sill pan adds protection at the most vulnerable point, and a metal drip cap over the head sheds water away from the top of the window. Follow the window manufacturer’s instructions, because the flashing method is often a warranty condition.
How Do Window Leaks Stay Hidden Until the Damage Is Serious?
Water does not behave the way most people expect. It does not just fall straight down; it clings to surfaces, travels sideways along framing, and finds the smallest gap in a membrane before gravity takes over. That is why a window leak rarely appears directly below the window. It often shows up as a damp patch on a ceiling below, a swollen skirting board a metre away, or a musty smell with no visible stain at all. By the time the damage is visible, the timber framing behind the wall may already be soft with rot.
Modern exterior finishes make the problem worse. Composite and PVC trim can look flawless for years while moisture works away behind them, and a thick bead of caulk can hide a failed flashing joint completely. The lesson is that flashing is not cosmetic work to be rushed at the end of a window installation. It is the primary waterproofing system for the largest hole in the wall, and it deserves the same care as the roof.
What Window Flashing Materials Work Best for Each Part of the Window?
Three materials do most of the work in residential window flashing, and they are often used together on the same window. Butyl tape is the workhorse: a self-adhered membrane that sticks to wood, sheathing, and the window flange, seals around fasteners, and stays flexible in cold weather. Aluminium or coated steel flashing is used for drip caps and custom sill pans, where rigidity matters. Liquid-applied flashing, brushed or sprayed on, creates a seamless membrane in awkward corners where tape is hard to fold neatly.
The Bottom-Up Flashing Sequence, Step by Step
Every reliable window flashing method follows the same principle: start at the bottom and work up, so each layer overlaps the one below like shingles on a roof. Water running down the wall then meets an overlap that sheds it outward, never an edge it can slip behind. The sequence below applies to a typical flanged window in a framed wall with a water-resistive barrier such as house wrap.
Prepare the rough opening. Check it is square, level, and sized to leave shim space around the unit, typically about three-quarters of an inch wider and an inch taller than the window. Clean the sill and jambs of dust and debris so tape bonds properly.
Cut and fold back the water-resistive barrier. Trim the house wrap flush to the opening, then cut a diagonal slit at each top corner to form a flap that will later lap over the head flashing. Wrap the wrap into the opening and staple it to the inner framing.
Install the sill pan. Form a pan across the sill with flashing tape or a preformed pan, extending at least three to four inches up each jamb and past the opening on both sides. Slope the sill slightly outward so any water that reaches it drains out, not in.
Set the window and seal the flange. Apply a continuous bead of exterior sealant along the inside edge of the opening, set the window plumb and level, and fasten the flange. Do not seal the bottom flange, so any water that does get behind the window can drain out.
Flash the jambs. Apply flashing tape up each side, overlapping the sill flashing at the bottom by several inches and pressing out all air bubbles and wrinkles with a roller.
Flash the head. Apply tape across the top, overlapping the jamb flashing on both sides, then fold the house-wrap flap down over it. Finish with a metal drip cap above the trim, sloped outward, with its top edge sealed.
Test before trimming. Spray the window with a hose, starting low and working up, and check inside for any sign of water before the interior trim goes on.
Flashing a Replacement Window in an Existing Wall
Retrofitting flashing around a replacement window is harder than flashing a new opening, because the siding and trim are already in place and the water-resistive barrier is hidden. The work starts with removing enough trim and siding around the window to expose the sheathing and the existing barrier, so the new flashing can be tied into it rather than simply stuck on top of it. A membrane applied over the house wrap cannot stop water that gets behind the wrap above the window, so the lap order still matters.
- Remove trim and siding at least six inches around the opening to expose sound sheathing.
- Cut the existing barrier back and integrate new tape with it, bottom-up, as in a new install.
- Use liquid-applied flashing for corners and gaps where tape cannot fold cleanly.
- Check the sill for rot before installing the new window; replace soft timber, don’t cover it.
- Reinstall trim with a small gap at the bottom so any water can escape instead of pooling.
Window Flashing Mistakes That Cause Hidden Rot
Most flashing failures come from a short list of repeatable mistakes, and knowing them is half the job. The most common is installing the layers in the wrong order, especially putting head flashing on before the jamb flashing, which creates a lip that catches water and sends it into the wall. The second is reverse-lapping the house wrap, where the upper sheet tucks behind the lower one and channels water inward.
- Flashing top-down instead of bottom-up, so overlaps catch water.
- Leaving gaps or wrinkles in tape at corners, where water concentrates.
- Sealing the bottom flange, trapping water behind the window.
- Skipping the sill pan, the one place water collects first.
- Relying on caulk alone instead of layered flashing.
- Using the wrong tape for the temperature, so it never bonds properly.
Cold weather deserves a special warning. Some self-adhered membranes look stuck on a cold morning and lose adhesion overnight as temperatures drop, which is why experienced installers warm the tape and the surface, roll every seam, and avoid one-piece peel-and-stick sill pans in cold conditions. If the tape cannot be pressed into full contact, wait for warmer weather rather than hoping it holds.
Manufacturer Instructions, Warranties, and Building Codes
Window manufacturers publish a flashing method for each of their products, and following it is usually a condition of the warranty. A window installed with the wrong flashing sequence can lose its warranty cover, which matters if the unit itself later fails. The manufacturer’s detail also accounts for the specific nailing flange design, because some flanges are continuous and moulded while others need site-made corner pieces from butyl tape.
Building codes add another layer. Most codes require flashing at window openings and a water-resistive barrier lapped to shed water, but the exact detail varies by jurisdiction and by wall assembly. A licensed installer should know the local requirements, and on a larger project a building inspector will often check the flashing before the siding goes on. That inspection is worth scheduling, because it is the last chance to see the work before it disappears.
DIY or Hire a Professional Window Installer?
A skilled homeowner can flash a single window on a ground floor with the right materials and a careful reading of the manufacturer’s instructions, provided the opening is sound and the weather is dry and mild. The work is methodical rather than physically hard, and the cost of materials is modest. The risk is that a mistake stays invisible for years, so the DIY route only makes sense when the installer is willing to go slowly and test with water before trimming.
Hire a professional when the window is on an upper floor, when the opening shows rot or structural damage, when the wall assembly is unusual, or when several windows are being replaced at once. A professional brings the right tapes and tools, knows how to integrate with the existing barrier, and can warranty the work. Ask any installer to photograph the flashing before the trim goes on, and keep those photos with the house records.
What Window Flashing Costs, in Broad Terms
Flashing materials themselves are inexpensive: a roll of quality butyl tape, a sill pan, and a drip cap for a single window typically cost well under a few hundred dollars. The real cost is labour, especially on a retrofit where trim and siding must be removed and reinstalled. As a broad estimate, adding proper flashing during a new window installation adds a modest amount to the job, while retrofitting flashing around an existing window can cost several times more because of the removal and making-good work.
The comparison that matters is against the cost of repairing hidden water damage, which routinely runs into the thousands once framing, insulation, drywall, and finishes must be replaced. Viewed that way, flashing is one of the cheapest insurance policies in a house. It is also worth noting that a window replacement quoted without any flashing allowance is a warning sign, not a bargain.
Final Thoughts: Think Like Water, Flash Like Shingles
The best advice about window flashing is also the simplest: think like water. Water clings, travels sideways, and finds small imperfections before you do, so every layer must shed onto the one below it, every corner must be sealed, and every sill must drain outward. Get the sequence right and the materials almost take care of themselves.
Whether you do the work yourself or hire it out, insist on seeing the flashing before it is covered, test it with water, and keep the photos. A window that is flashed properly will protect the wall for the life of the window, and you will never have to think about it again. That is exactly the point.
Window Flashing Installation FAQs
What is window flashing?
Window flashing is a thin waterproof material installed around a window opening to direct water away from the wall. It is layered so each piece overlaps the one below, shedding water outward like shingles.
Do I need flashing if my windows have caulk around them?
Yes. Caulk is a sealant, not a drainage system, and it eventually cracks or pulls away. Flashing provides layered protection that keeps working even if the caulk fails.
What is the correct order for flashing a window?
Bottom-up: sill pan first, then jamb flashing overlapping the sill, then head flashing overlapping the jambs, with the house wrap lapped over the head. Never flash top-down.
Can I add flashing to an existing window without removing it?
Usually not properly. Effective retrofit flashing requires removing trim and siding to tie new membrane into the existing water-resistive barrier. Surface-only fixes rarely last.
How do I know if my window flashing has failed?
Look for peeling paint, soft or swollen trim, damp drywall near the window, or a musty smell. A hose test, spraying from low to high while someone watches inside, can confirm a leak.
Does flashing affect my window warranty?
Often, yes. Most manufacturers specify a flashing method and require it to be followed for the warranty to remain valid, so keep the instructions and photos of the work.